


Update 2015/10/03: It’s Virgin Media now? Alrighty then. updates title
Update 2015/01/03: You are probably here for one reason: how to use SNMP to switch this router to bridge mode? As this is unsupported by UPC Ireland, let’s hope they don’t spoil the fun for us. (After posting the main body of the post, I actually got a proper DD-WRT friendly router and have started using this.) So here’s what you’re interested in.
To switch the device into pure modem, non-routing mode, you use:
snmpset -v2c -c public 192.168.100.1 1.3.6.1.4.1.4413.2.2.2.1.7.1.1.0 i 1
Additionally, concerning IPv6, at no later time have I observed receiving an IPv6 globally routable address, so I guess that was a lucky hiccup.
Based on this thread which I ran into here. These are just notes; if you can learn something from them, do so; but please be careful and fully aware that these are not instructions — merely notes for my own personal use in the future. I do not recommend you follow the notes; quite the opposite.
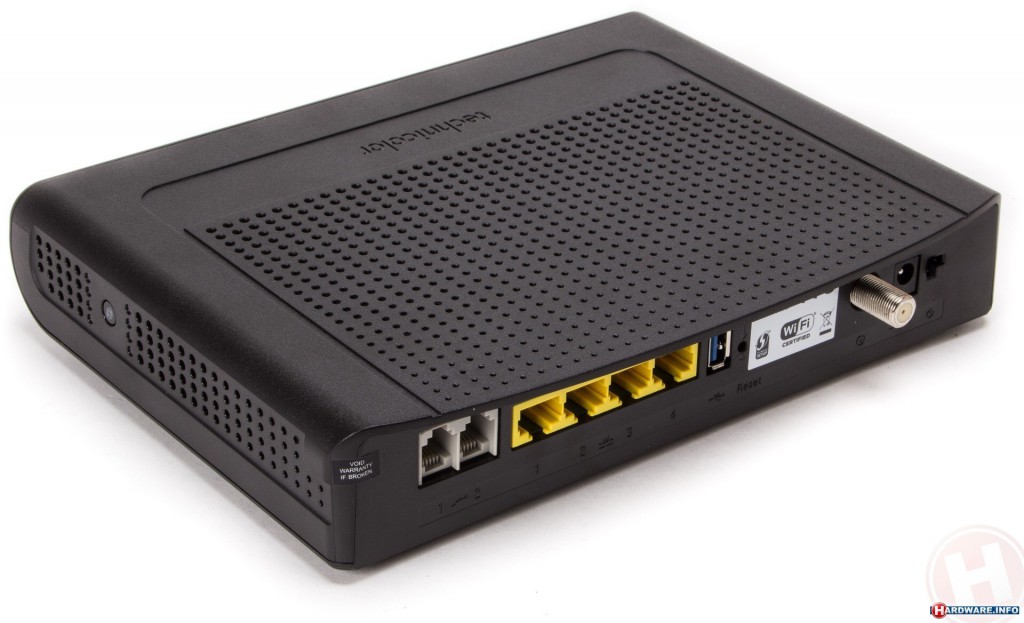
Despite (according to their reps on Twitter) telnet being unsupported by UPC, you can easily telnet 192.168.100.1 and use username: webstar, password: webstar to log into the console. There isn’t much to do there, sadly. Apparently you may be able to use the set command to control SNMP settings.
Some configuration of hidden features can be done via SNMP. I highly advise you not to do that. This is unsupported by UPC, and you might be unable to restore settings to the previous state.
To switch the device into pure modem, non-routing mode, supposedly you use:
snmpset -v2c -c public 192.168.100.1 1.3.6.1.4.1.4413.2.2.2.1.7.1.1.0 i 1
This didn’t work for me immediately. It seems to work immediately after reboot. Also worth noting is the snmpwalk command:
snmpwalk -v2c -c public 192.168.0.1 1.3.6.1.4.1.4413.2.2.2.1.7.1.1.0
Note that the value of “1” means “modem mode” (also known as “bridge mode”), while “2” means “ordinary NAT+routing mode”.
Be very careful. Turning on “modem mode” breaks Wi-Fi. You may need to bring up a separate access point for Wi-Fi. You may have trouble restoring the setting. PUBLISHING OF THESE NOTES DOES NOT CONSTITUTE ENDORSEMENT TO ACTUALLY USE THEM.
Also, I was unable to restore the setting to “2” using SNMP. Hard reset by holding the reset button for 30 seconds worked. Unless you use it strictly as a modem, with another device that performs NAT and IPv6 routing, it isn’t worth switching to NAT mode. So please don’t do this unless you’re fully prepared for breakage of service and possibly annoying UPC (since they obviously don’t want people to play with this).
It’s interesting that UPC does assign a public, fully routable IPv6 /64 prefix. Too bad that it’s not exposed to regular users locked behind a NAT who cannot get direct access to the public Internet, and who have been locked out of it by a firmware that is seemingly arbitrarily restricted compared to the one used in Netherlands. UPDATE: Two sources have told me that they did not receive an IPv6 prefix or address. As I am not keeping my device in bridge mode, and I do not advise readers to do so either (unless they have very good reasons), I cannot and won’t verify this. You can opt to leave a comment on your success, but I want to be clear that neither my text, nor any comments below, represent any advice on my part.
It’s also interesting that the setting seems to have survived a factory reset through the web interface. Factory reset through web interface has, however, restored WiFi functionality, and it seems that WiFi and LAN are getting separate IP addresses. Factory reset by holding the reset button for 30 seconds is the actual hard reset and cleans up the setting for “modem mode”.
–
via blog.vucica.net